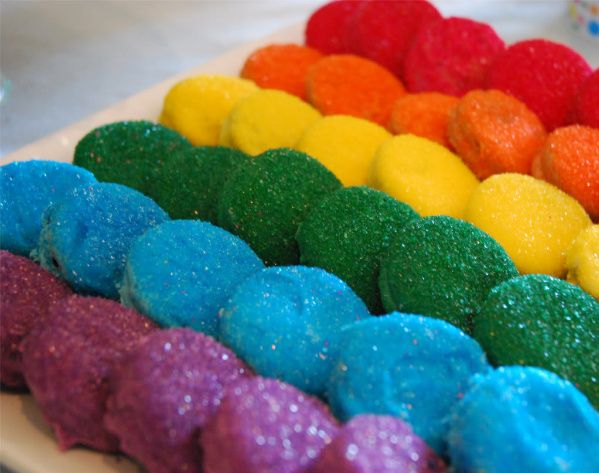
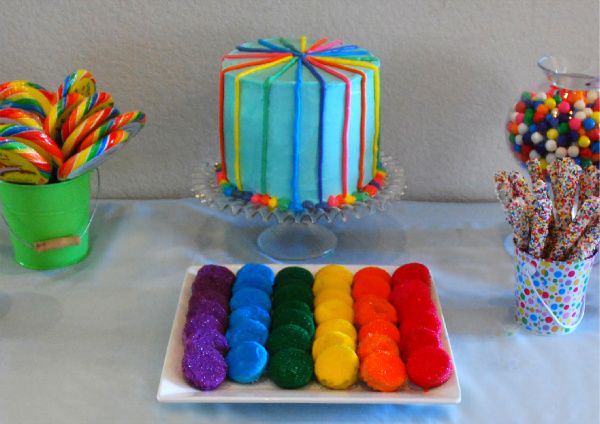
These are white chocolate covered Oreos. . . that aren't white. And that's not actually chocolate they're dipped in; it's some sort of "candy coating". Oh, and they're covered with sparkly sanding sugar too. Definitely a show-stopper of a cookie, whatever it's called! I'm going to show you how to make them.
Colored Oreos are an adorable party treat. Think of the theme possibilities! Pink and purple for a princess party. Red and blue for a Superman party. Light blue and brown for a boy baby shower. Green for St. Patrick's Day. Oooh, my imagination is running wild!
Not only are these fun and yummy, they are easy to make. Like, seriously easy. And they can be made a couple of weeks in advance. I love doing everything I can for parties way ahead of time. I'm always running behind on party days and am so relieved when I've already gotten stuff done.
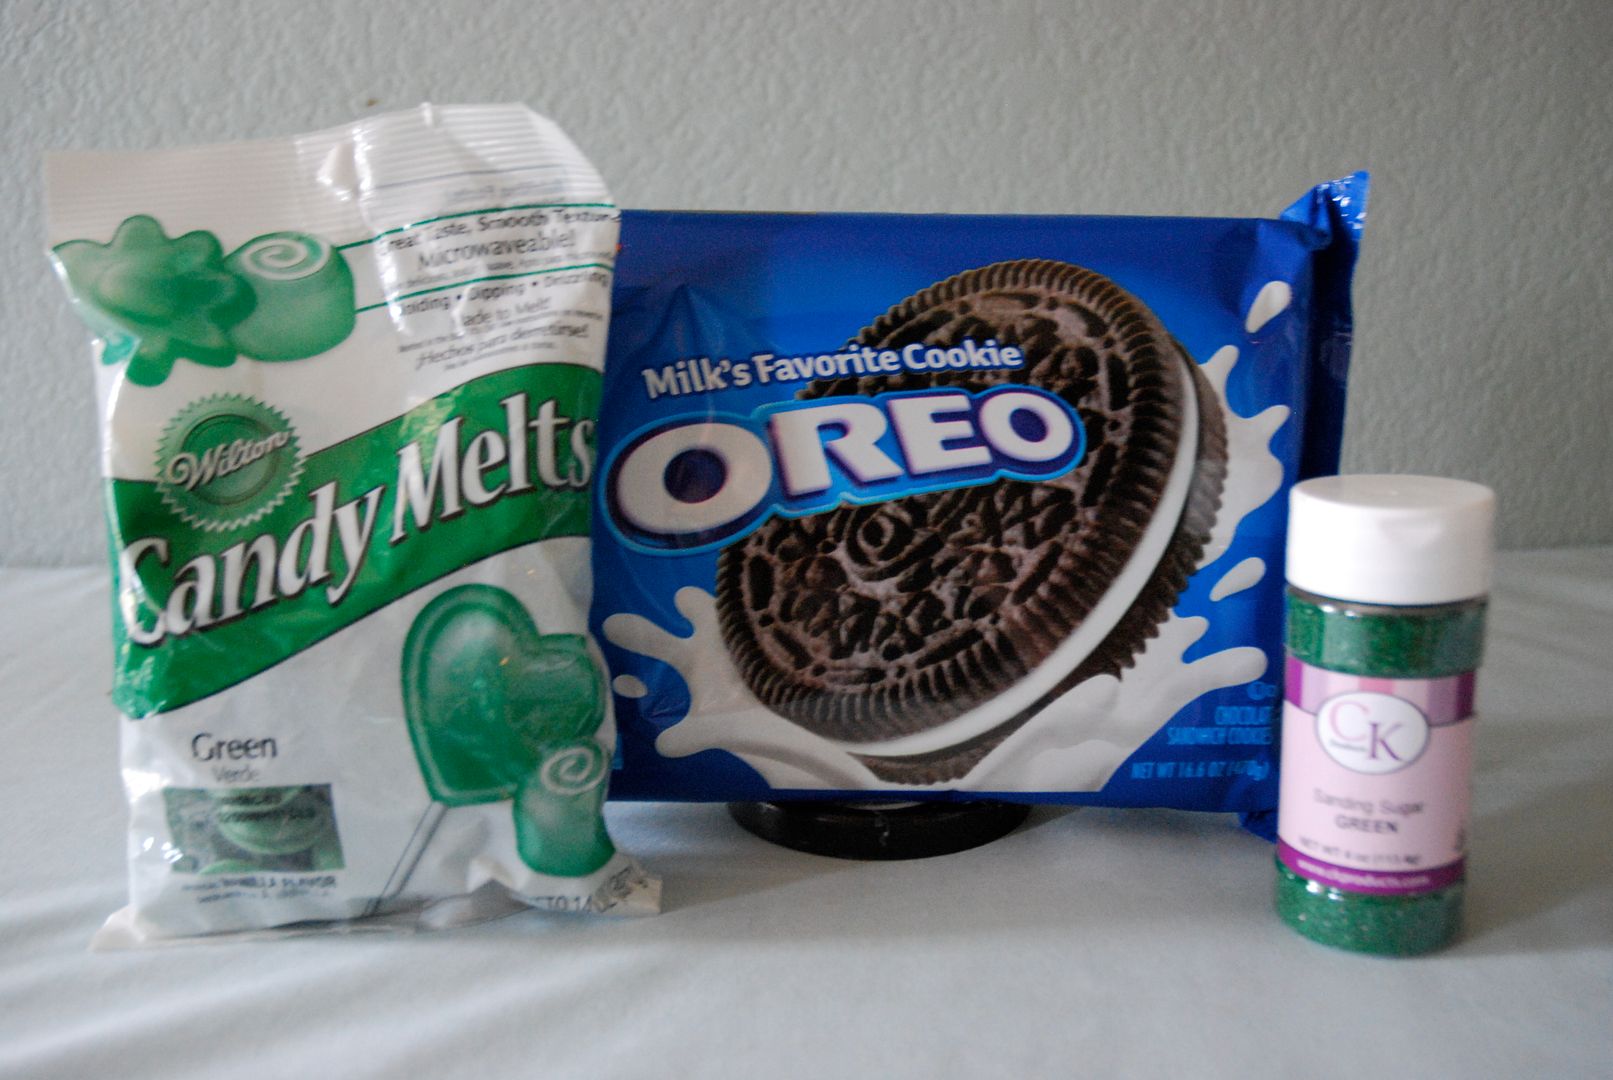
You can color about 18-22 sandwich cookies with one bag of candy melts. It's not very scientific, though. Some people skimp on the chocolate and others don't. If you are planning on making vast amounts of these for a wedding reception or something similar, you ought to experiment with quantities first. Here's what you need:
Oreos
Colored candy coating (available in the cake decorating aisle of most craft stores)
Colored sanding sugar (also in the cake decorating aisle. But you might have to get certain colors online or at a cake decorating supply shop)
Before we get started let me explain something about white chocolate. It's not actually chocolate. It's chocolate-esque, which means that it behaves a lot like chocolate. One thing that melted chocolate cannot abide is water. If you get water in melted chocolate it will suddenly sieze, which means it gets very thick and hard and will refuse to cooperate any longer. It cannot be coaxed into melting again. You will have to throw it away.
Food coloring, even the gel and paste kinds, are made of water. Do not think that you will be sensible and buy only white chocolate and just color it different shades. No. This will not be happening. You cannot color it unless you buy special chocolate colorants. Please believe me when I say you need to buy pre-colored candy melts. They're not very expensive. The idea is to get chocolate that is the same color as your sanding sugar. It doesn't have to be an exact match, just in the same color family. You could use white chocolate with colored sugar but that doesn't look nearly as pretty.
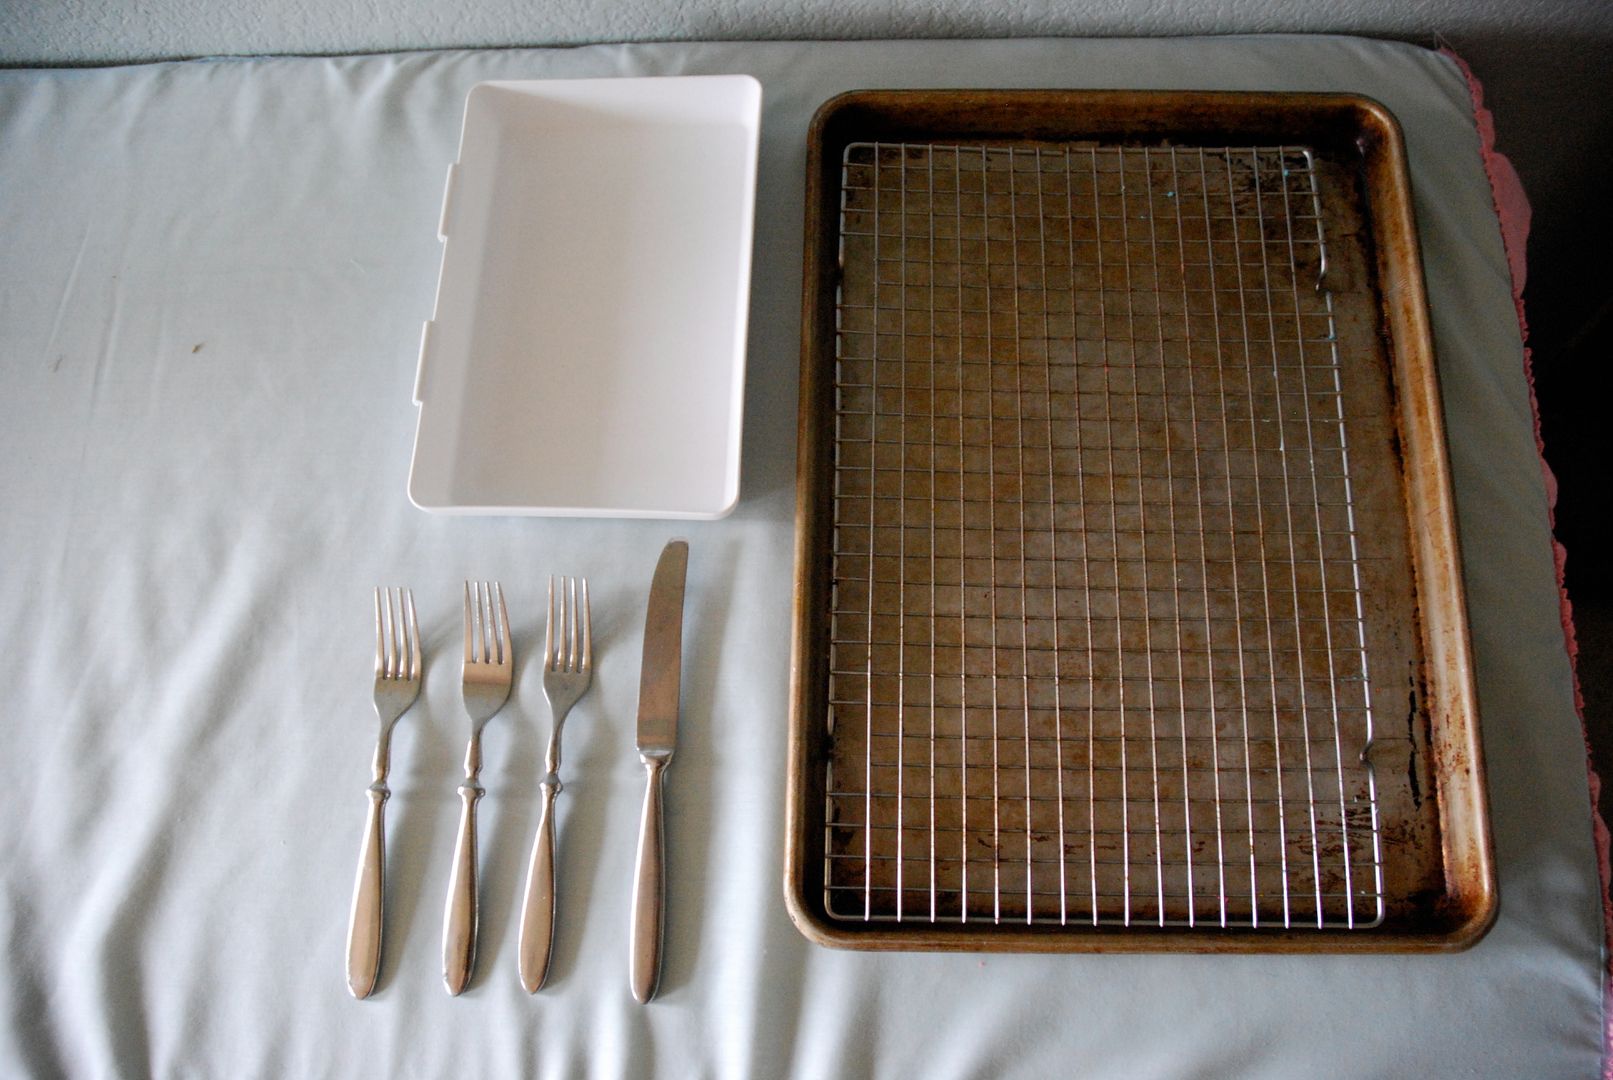
You will need some tools to make your cookies:
--Several forks
--Knife for stirring (people always want to stir things with spoons but it's really hard to get all the chocolate off of a spoon. A knife is much better.)
--Little tray or pan to catch the sanding sugar
--Cooling rack
If you feel like it, place the cooling rack in a jelly roll pan. If not, just put some parchment or plastic wrap underneath to catch the drippy chocolate.
OK, so back to our Oreos. Please open the bag and eat three. Let's just get that out of the way to begin with. No use trying to resist.
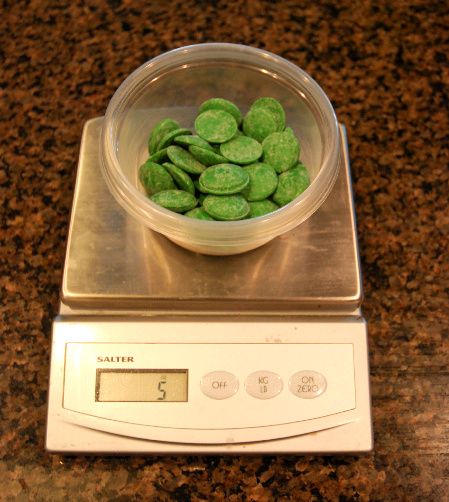
Now let's melt some chocolate! I prefer to melt about a third of the bag at a time (about 5 oz). Less chocolate is easier to manage. Oreos also tend to be a little crummy and after a while the chocolate gets tainted with tiny bits of cookie.
Put the chocolate in a small/medium sized bowl and stick it in the microwave for one minute at 50% power. Then stir it and repeat until the chocolate is mostly smooth. It will continue to melt a bit as you stir it.
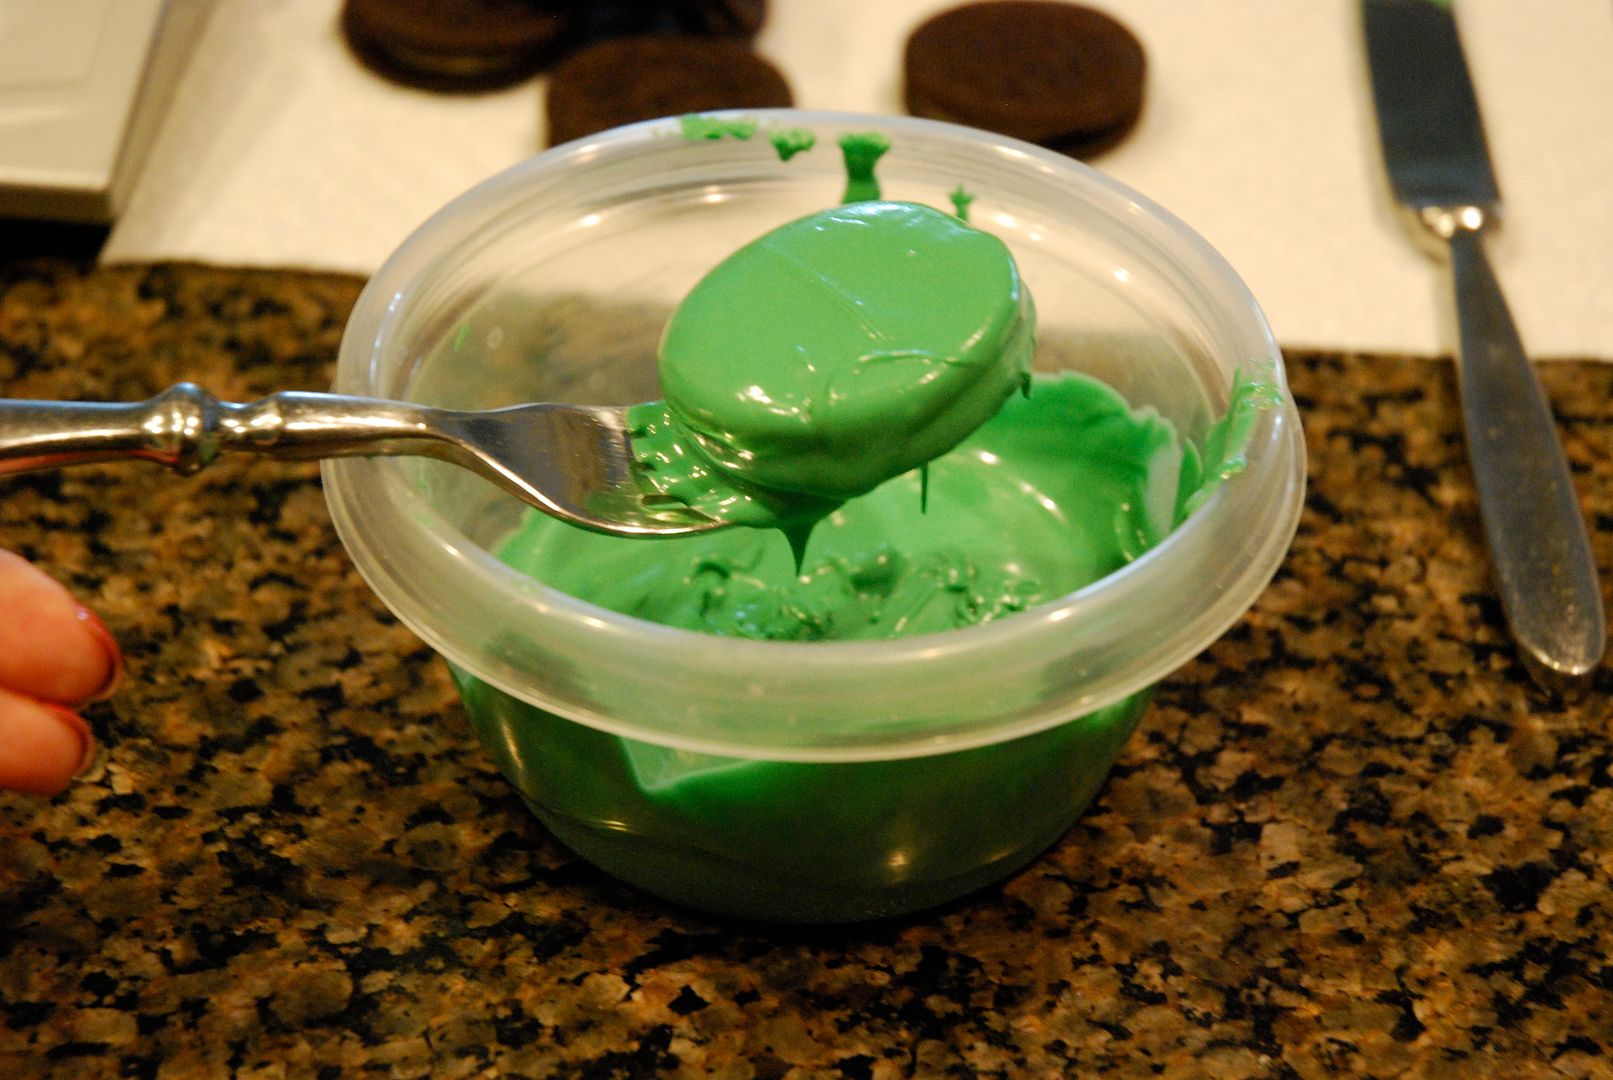
Once your chocolate is smooth and lovely, drop an Oreo right in the bowl. Flip it over with a fork a few times until it's completely covered with chocolate. Fish it out and tap it firmly on the edge of the bowl to get some of the excess chocolate off.
If it looks ugly, don't worry. That's what sparkles are for! What we do without glitter and sprinkles?
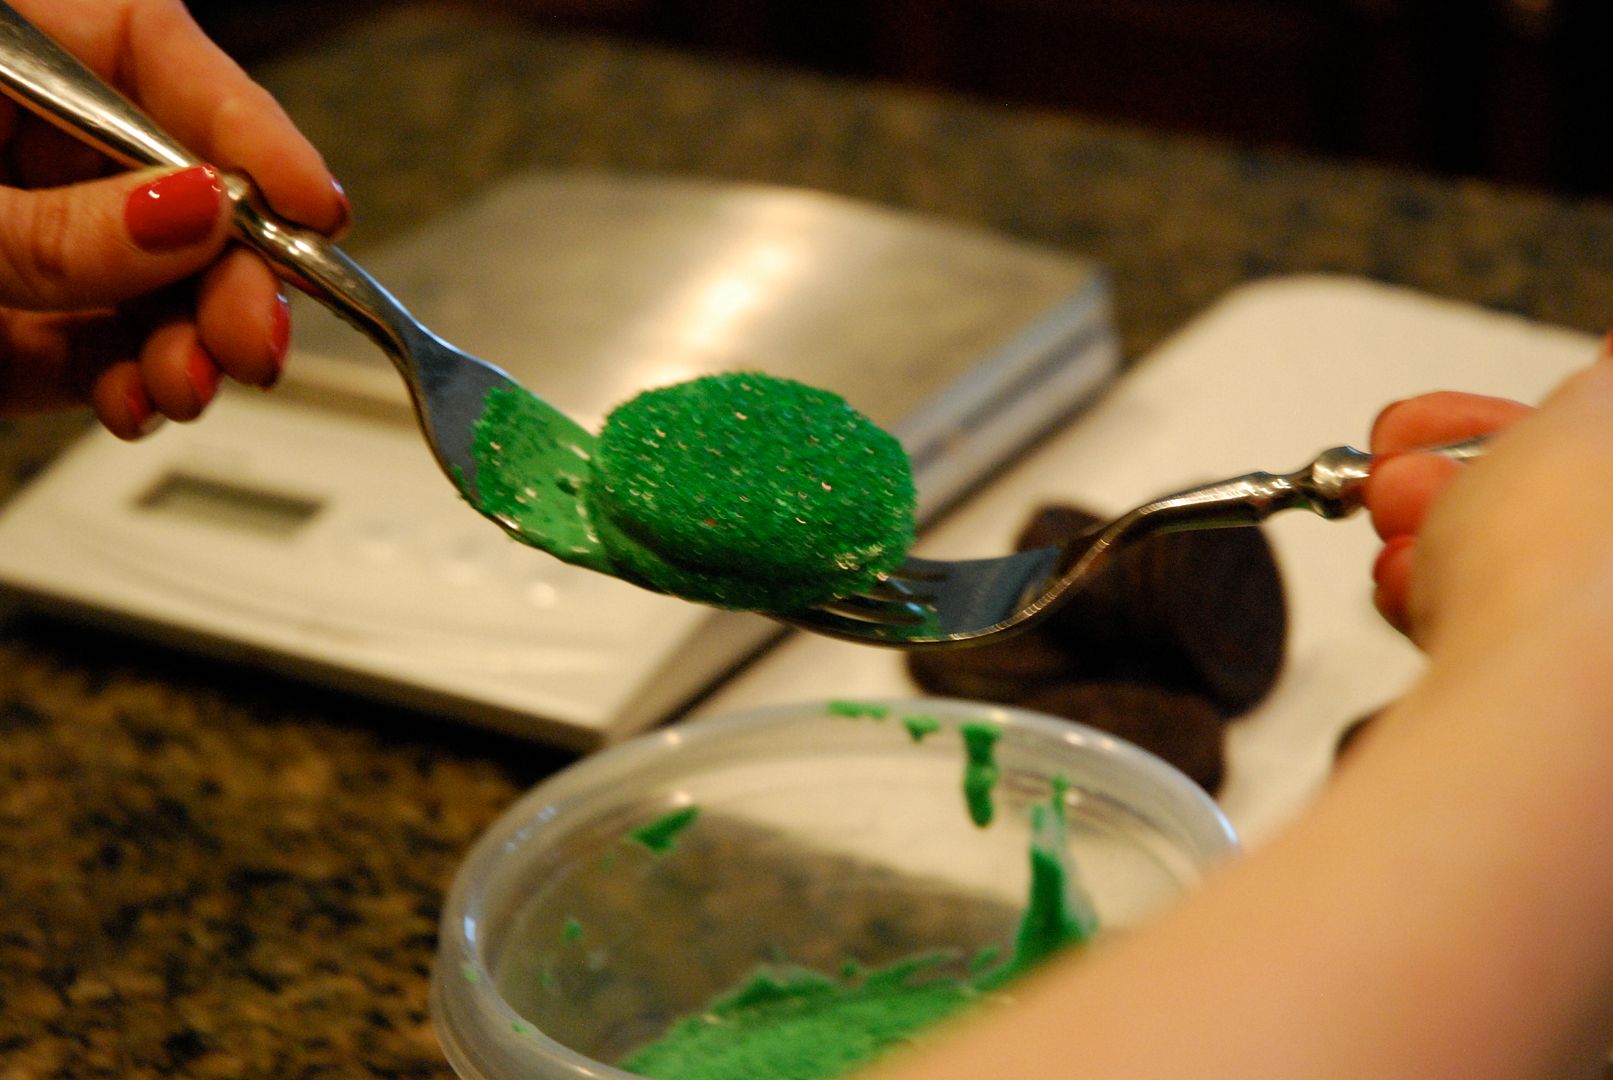
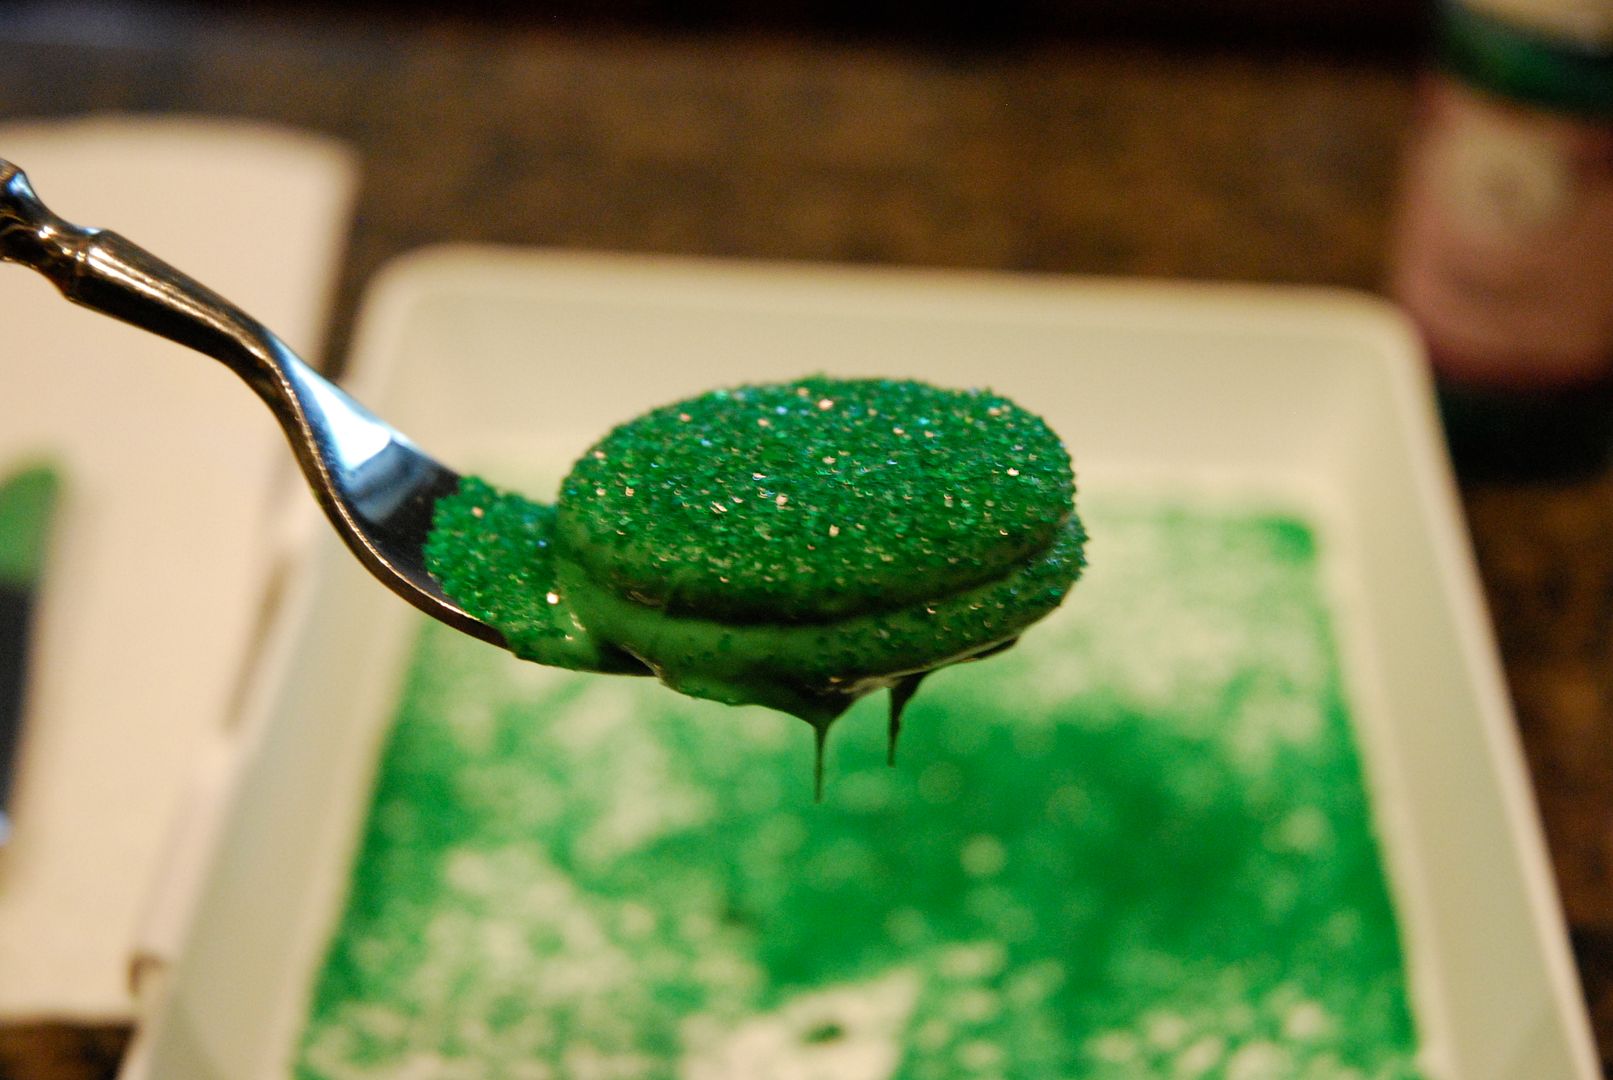
Hold your Oreo on the fork, angled up a little so it doesn't fall off. Put it over your little tray (not over the bowl of chocolate!) and shake sprinkles all over it. You'll notice that the area closest to fork is at a weird un-sprinklable angle. So gently transfer the Oreo from one fork to another and continue to sprinkle away on the other side.
Once your cookie is adequately sprinkled, place it gently on the cooling rack. It takes about an hour for them to cool and harden. Put them in the fridge if you're in a hurry.
Once they've hardened up, place the Oreos in a plastic container to keep them safe until party time. (Oh, if you end up with a bunch of melted chocolate left in your bowl, you can pour it out onto a piece of plastic wrap and let it cool. Once it's hard just peel it off the plastic and toss it back in the bag with the unmelted pieces.) Hope this tutorial will help make your party extra-super!
Very cool idea Jenny! But seriously, you only eat 3? Have you tried the new oreos? The ones with the pink filling? I see a new 5 pounds coming on in my future!
ReplyDeleteCandy melts = another product not available in Australia.
ReplyDeleteYou torment me.
Yum. Red #40.
ReplyDeleteThe colors are gorgeous. I just pinned that picture.
ReplyDeleteThose look great. Fun idea for a party. I need to stock up on those candy melts.
ReplyDeleteI think I will just hire you for Katelin's next big she-bang. Do you hire out?
ReplyDeleteGood reminder. Maybe I'll make some for Daphne's bday party. Except she has yet to pick a theme. Makes it kind of hard to plan ahead.
ReplyDeleteGood reminder. Maybe I'll make some for Daphne's bday party. Except she has yet to pick a theme. Makes it kind of hard to plan ahead.
ReplyDeleteWell how cute are those?! Pinning this!
ReplyDelete