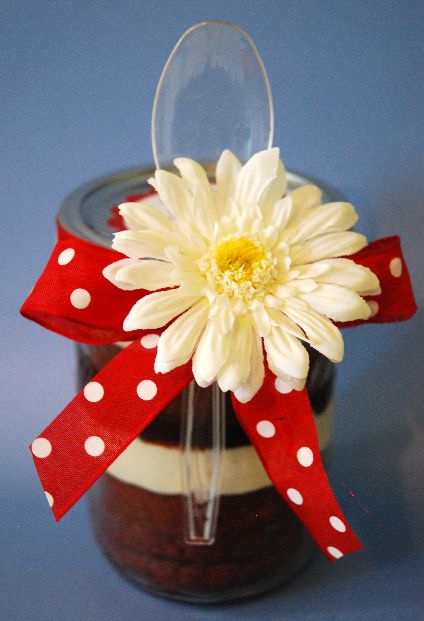
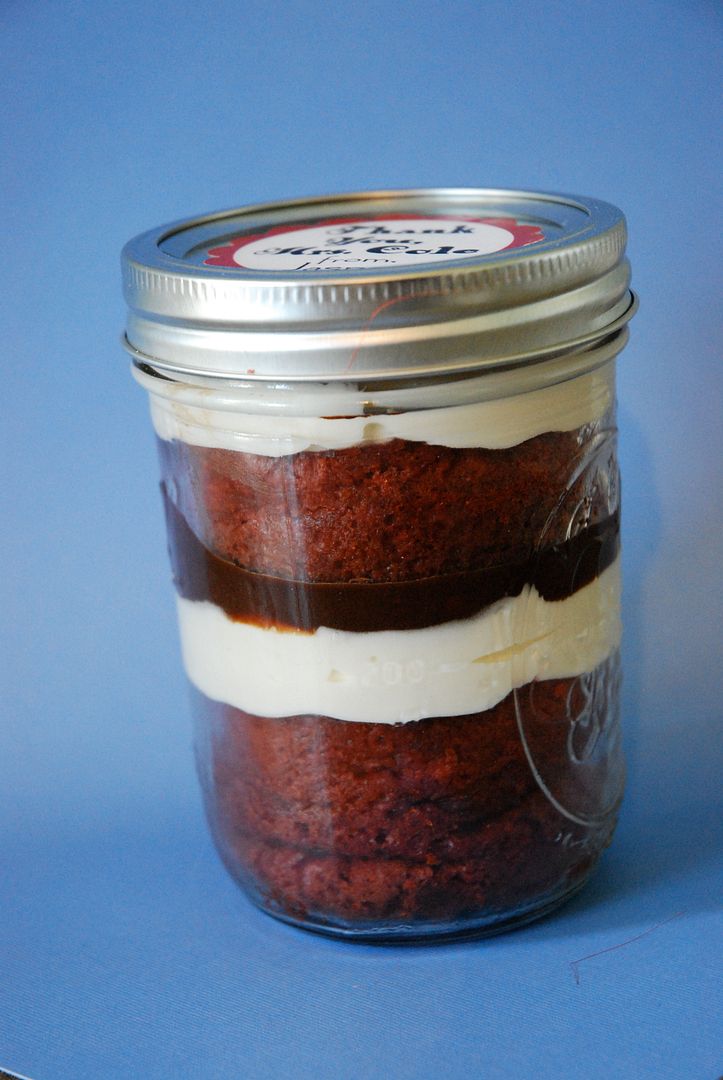
It's Teacher Appreciation Week! In the past some Room Moms have turned it into more of a Parent Extortion Week with requests for gift cards and hardcover books, but this year we're keeping it simple. My kids will be doing thank you notes and these lovelies: Red Velvet cake in a jar. Yes, the cake is baked in a mason jar. And eaten from a mason jar. It's such a cute, fun idea. I'm not going to lie to you and tell you that it's super easy. But it's not too bad; it's worth it. Plus these are unique and homemade and that's my favorite kind of gift to give.
Step 1: Decide on your cake flavor. I made these for five different teachers. One hates chocolate. So I decided on Red Velvet with cream cheese frosting. For the other four teachers I also added a layer of homemade hot fudge. I usually do from-scratch cakes but I decided to make it easy on myself and did a doctored red velvet (recipe at the very end, if you are interested). Whatever recipe you use, please for the love of everything holy, make the frosting from scratch. Frosting is not hard to make and when it's being put in a jar, the consistency doesn't even matter. Frosting from a can is horrendous. There is no circumstance I can imagine where I would ever use it. I will get off my high horse now. But I'm serious.
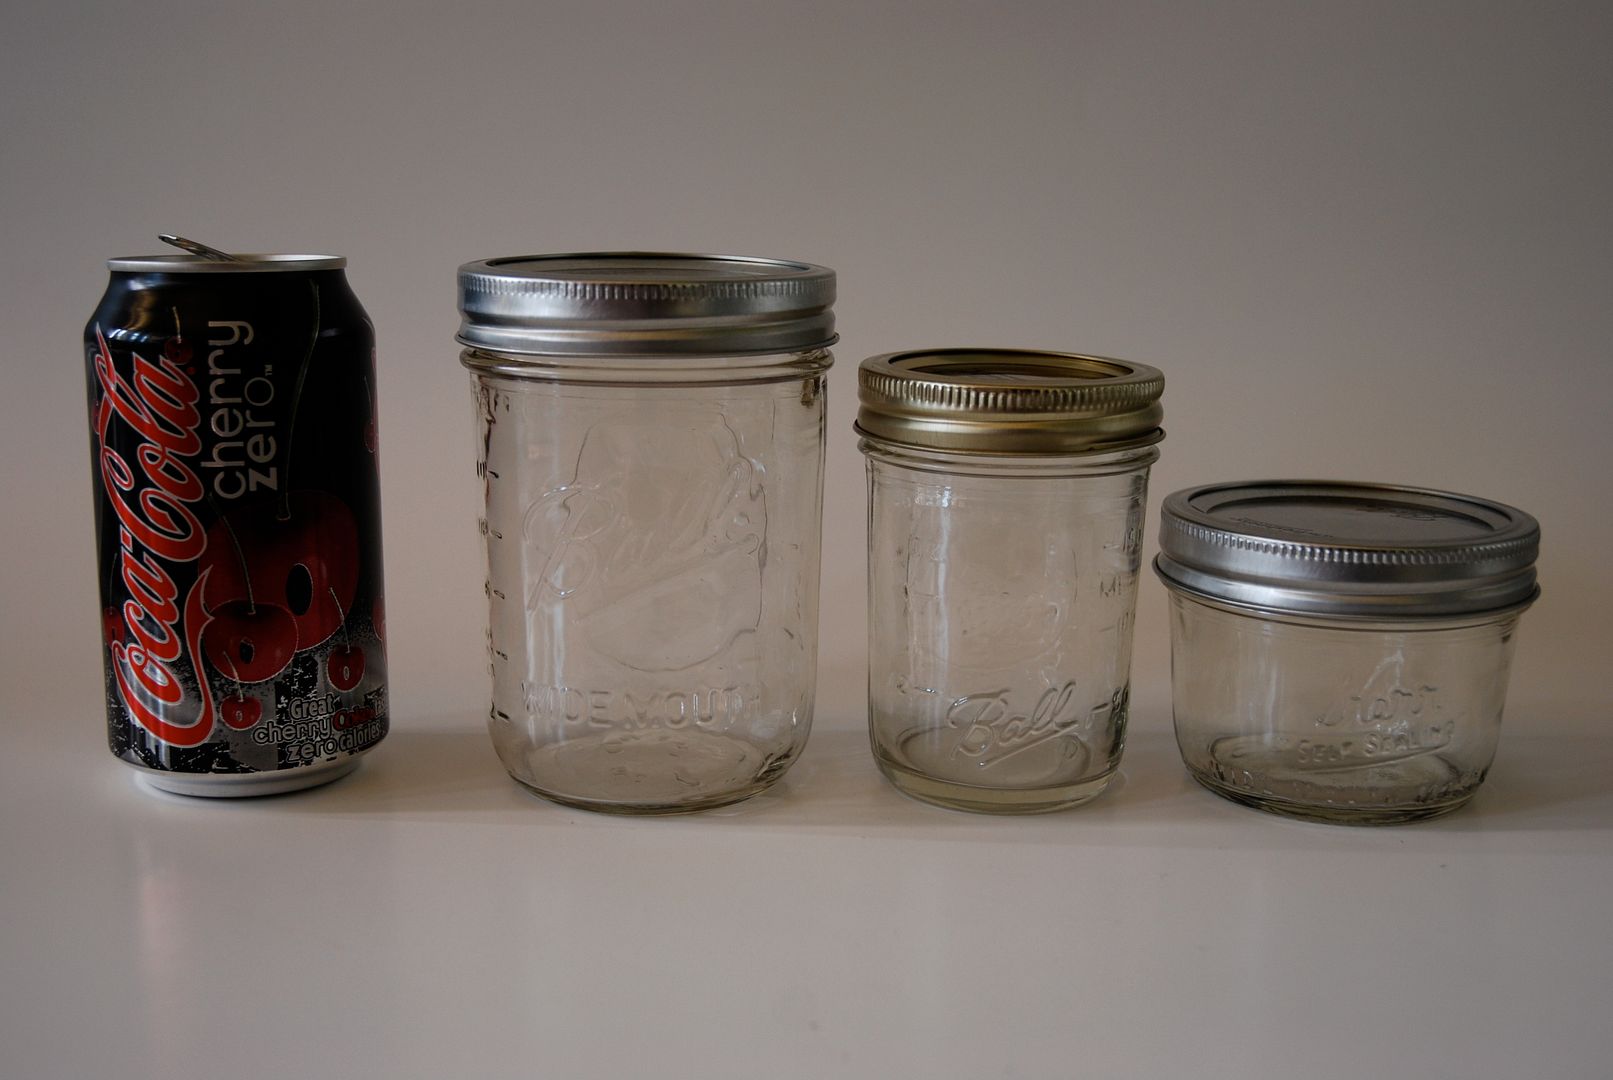
Step 2: You will need glass canning jars. They can be whatever size you like but they must be wide-mouthed (that means they are straight up and down. Don't even bother using traditional jars with the smaller mouths. They don't work too well.) I chose pint-sized. I got five cakes out of one batch of cake batter. The half-pint sizes are nice too but are more of a single cupcake size. You'll get more cakes out of one recipe, though, so think about what your needs are. (This picture shows all three kids of wide-mouth jars compared to a Coke can so you get a sense of size). If you live in Texas, H.E.B. has all three kinds of jars. They're sold in a box of a dozen for about $7-10.
Step 3: The most important step. Grease those jars! You are going to be hating life if you don't.
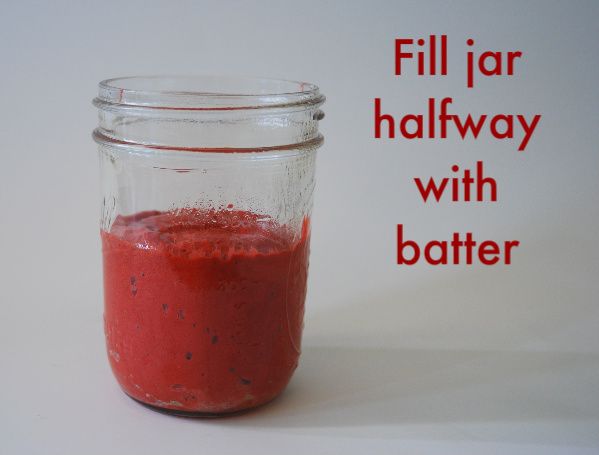
Step 4: Make your cake batter and fill each jar halfway. Bake at 350º for 25-30 minutes for a pint jar (no, they won't break! Set them on a shelf in the middle of the oven and they'll bake just fine). A great thing to use for a tester is a piece of uncooked spaghetti. Some people on the internet recommend baking cakes in a jar in the microwave. Actually they don't taste that bad but the texture is really spongy. They do cook in about 90 seconds but they make the most hideous mess; the batter puffs up and then leaks all over the outside of the jar. It's better to just bake them in the oven. It saves time in the long run.
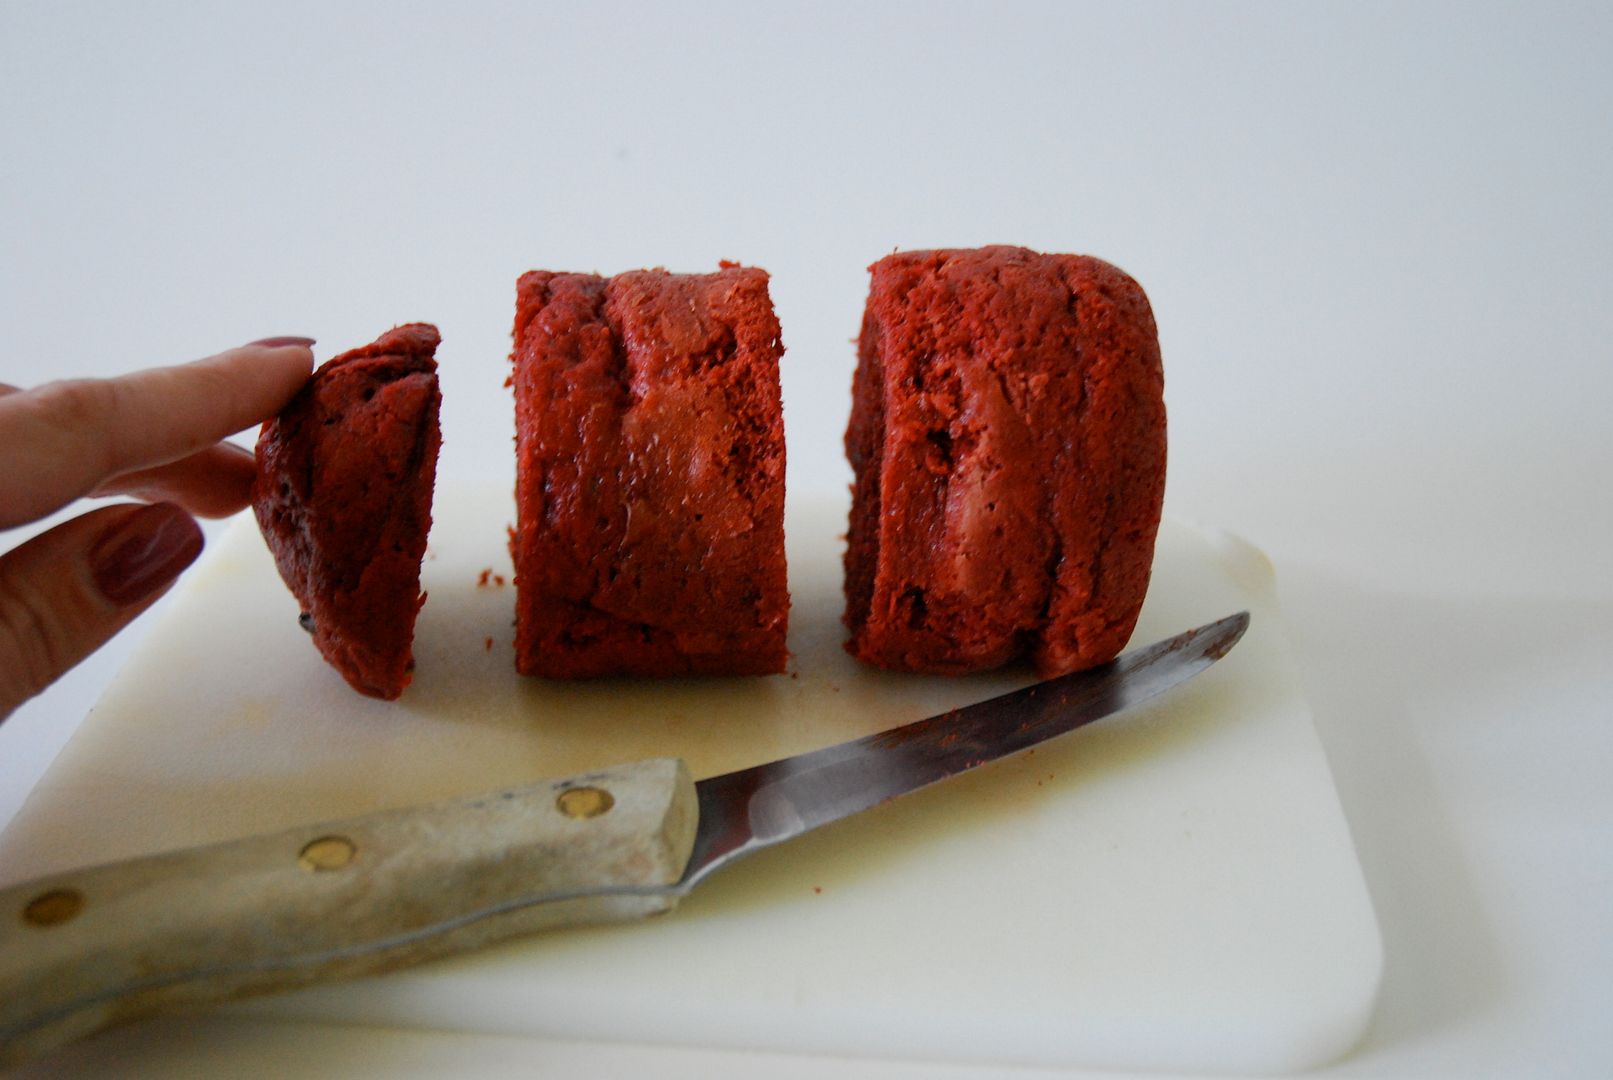
Step 5: Remove cakes from the oven and let them cool completely. As they cool they'll shrink a little bit and if you've greased your jars well, they'll pop right out. While the cakes are cooling, make your frosting. Again, frosting is not hard to make; no excuses (recipe at the end). Once the cakes have cooled, cut off the weird end. (You should probably eat it as a reward for being so selfless by making nice gifts for people.) Cut the rest into two (or more) sections.
Step 6: You'll want your jars to be nice and clean. Either wash them or get out a few more from the case that are already clean. Either way, place a piece of cake at the bottom. Top with some frosting. I suggest putting your frosting in a ziploc bag and snipping off the corner. It's a lot neater and easier to fill up the jars this way instead of using a spoon. (I'll leave the amounts up to your discretion.) Repeat again. If you happen to have some matching sprinkles, add some to the top frosting layer before you put on the lid.
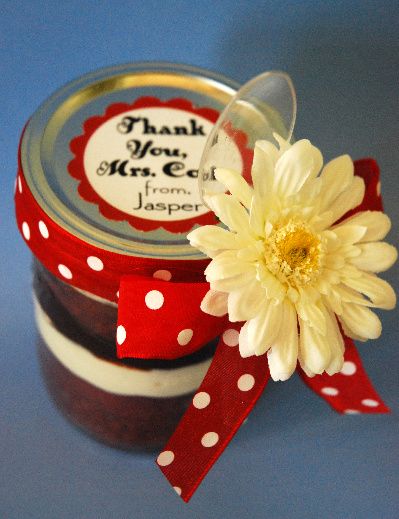
Step 7: If you've completely screwed your jars up and they look terrible, don't worry. Now is the time to pretty things up. Ribbons and bows cover a multitude of sins.
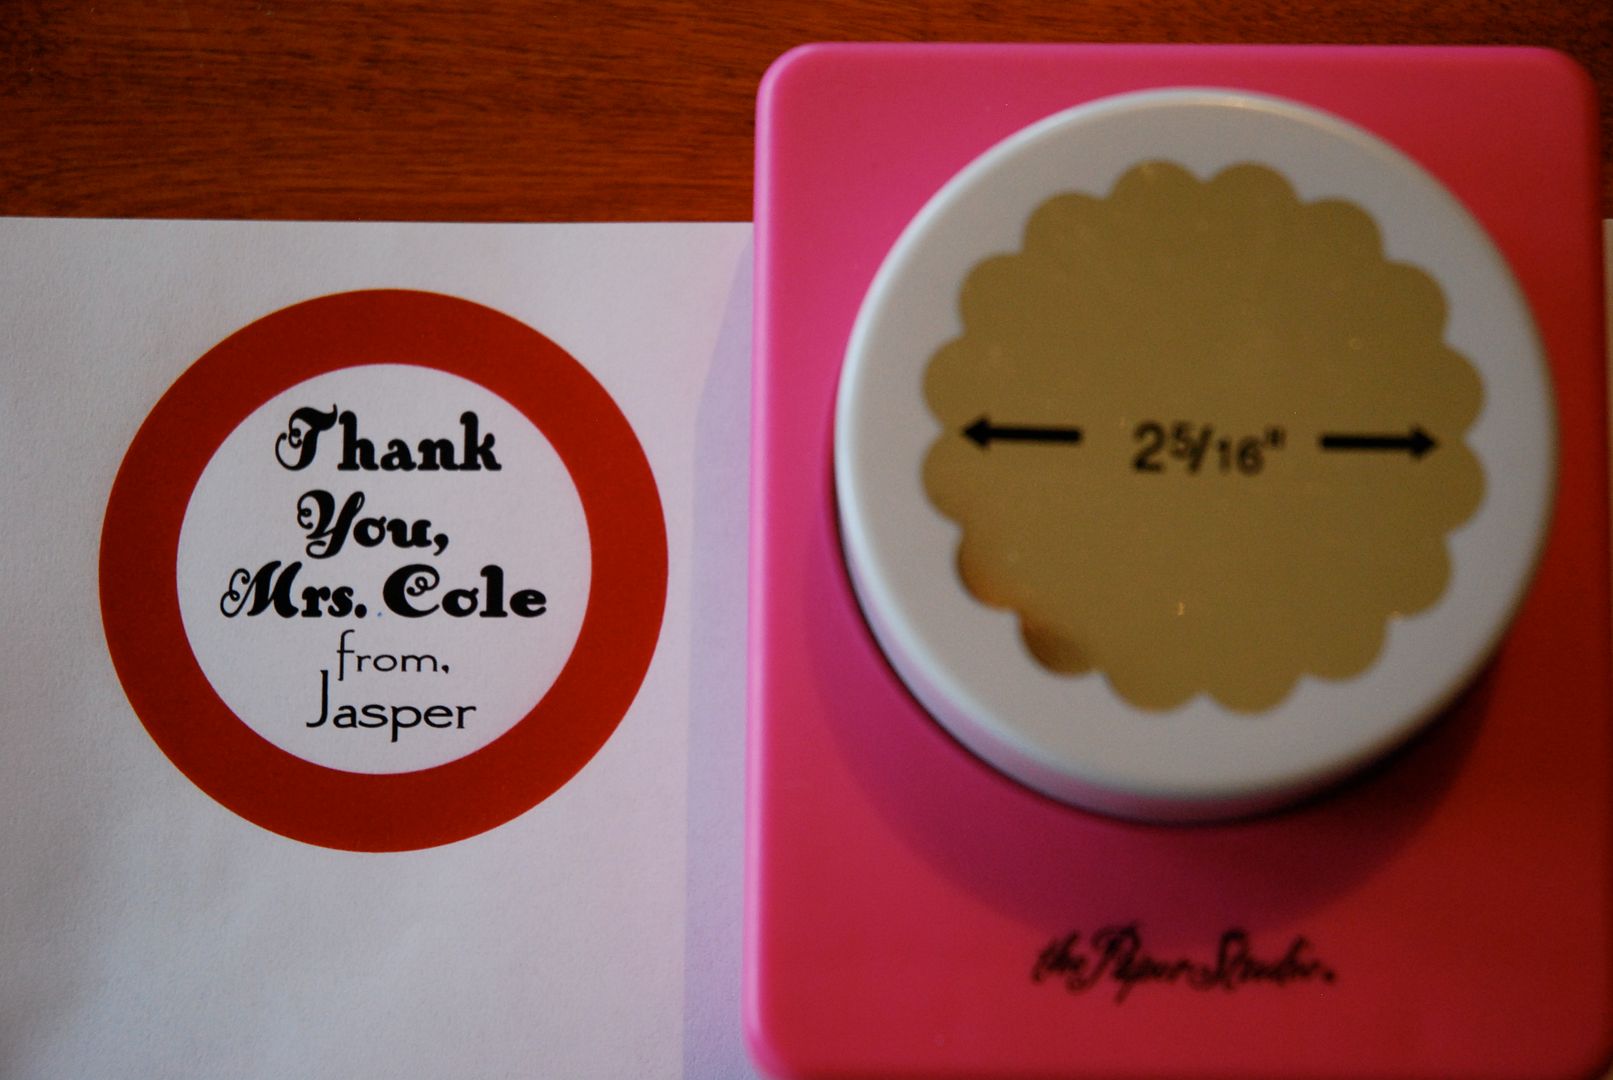
I wanted these jars to have a summery feel since it's the end of the school year. I printed up some paper labels, cut them with a fancy punch, and ran them through my Xyron Create-a-Sticker.
There were some cute and semi-flat daisies that I found in the scrapbooking section of Hobby Lobby (they have wires on the back to attach easily to things). Adding a spoon is a nice touch, too, especially so the recipient can bust open the jar and eat their cake immediately.
Red Velvet Cake recipe:
1 box white cake mix ("pudding in the mix" variety)
2 Tbs. cocoa
3 eggs
1 cup sour cream
1/2 cup water
1/4 cup vegetable oil
1 tsp. vanilla
1 whole bottle of red food coloring (1/3 jar of paste or gel coloring)
Mix all the ingredients together on med-high for two minutes, scraping the bowl as needed. Grease jars well. Bake at 350º til tester comes out clean. Cool completely before removing from jars.
Cream Cheese Icing:
1 stick butter (1/2 cup), softened
1 8 oz. pack of cream cheese, softened
2 cups powdered sugar
1 tsp. vanilla
pinch of salt
Beat butter and sugar until fluffy (about 2 minutes. It will be very dry and then suddenly will come together.) Add cream cheese then beat another 30-45 seconds. Beat in vanilla and salt.

Fantastic idea! I love it. Perfect so many gifts. Thanks for the inspiration!
ReplyDeleteFantastic! Now to try and find canning jars and a similar cake mix!
ReplyDeleteIs it a bad thing that I don't like cream cheese frosting?
ReplyDeleteBut these are adorable. Win.
Those look so YUM! Nicely done!
ReplyDeleteyum, jennie! i'm way impressed by your manicure.
ReplyDeletelol re: my comment. yum = cake in jars. impressive = lacquered fingernails. man it's been a long day.
ReplyDeleteGreat idea - and really cute. I'm going to file this one away for when James starts school this fall.
ReplyDeleteNow we can all have our cake and eat it too. THIS IS SO WONDERFUL, JEN!
ReplyDeleteOkay, it's midnight and I want one of these. NOW.
ReplyDeleteHow cute! I just got Jonas's teacher a Target gift card. I also never ever make my own frosting and do not have a manicure. You rock and I am a slacker. (I say that with no jealousy or self-loathing in my heart, truly. It's more a statement of fact.) :-)
ReplyDeleteAaaand I just posted with my son's login. See? Not cool.
ReplyDeleteWOW, I'm impressed! An amazing idea! You did not add a step about how to get the baked cake out of the jar. Does it have to be completely cool? Do you cut around the edge first? Do you just shake it out?
ReplyDeleteLoved the idea!! I have one question though, when you place the jars in the oven, do you use a container with water to put them inside? Or just put them in the oven and done?
ReplyDeleteWen--The jars can be placed directly on the oven rack, no problem.
ReplyDeleteMom--the cake pops right out of the jar. Unless you forgot to grease it.
Those are very impressive. I feel like I need to make soaps still since I just bought a bunch of new molds try try (loaf style) and printable soap paper. But I have totally lost my mojo for it. Maybe cakes in a jar are the ticket.
ReplyDeleteI skipped Teacher Appreciation Week this year. But this will make up for it at the end of the school year. I'm copying this idea exactly. Thank you!
ReplyDeleteSomeday, if I ever get settled from our move, I am going to make these. Fantastic!
ReplyDeleteHow DARLING, Jennie! These are so cute!
ReplyDeleteDid I miss a step? It looks like there is a layer of chocolate in between the cream cheese frosting and the cake. What is that?
ReplyDeleteI just love this idea.. So cute.. I can get many uses from this idea.. Thank you so much for sharing.. Keep them coming.. Thanks Olga
ReplyDeleteGreat idea! I'm going to try this.
ReplyDeleteKelly - "For the other four teachers I also added a layer of homemade hot fudge."
made something like that but I called Cake in aMug! Check it out:http://crissyscrafts.blogspot.com/2011/05/mothers-day-mug-cake.html
ReplyDeletethis is just sooooo cute! I don't have any kids that need teacher gifts (yes that means I'm old :0) but I'm thinking this would be great just to keep on hand - and stay fresher - for a nice individual serving instead of seeing that cake sitting on the table saying "eat me" ......
ReplyDeleteThanks!
Love this idea. I'm gonna do this for my next Christmas gift lists for the neighbors instead of making cookies.
ReplyDeleteThanks for sharing.
Thanks, Lori A! I missed that little sentence the first time.
ReplyDeleteHow long can they sit before they HAVE to be eaten?? I'm thinking AWESOME seating card idea for my wedding. Obviously everyone will already have cake that night, but they can take it home and have it another day?!?!?!
ReplyDeleteJessie, that's a lot of work, especially if you're doing it yourself. I'd really recommend doing something for your wedding that can be done way in advance. Trust me on this!
ReplyDeleteI think that if you used regular buttercream icing it would keep just fine for a few days, but cream cheese icing might be a little iffy.
ah, ok...thanks for the tip. I'm only having 28 people...so it wouldn't be THAT bad, but ya, I want something that would keep a little longer.
ReplyDelete